2011-2014 F-150 EcoBoost Intercooler / CAC Installation
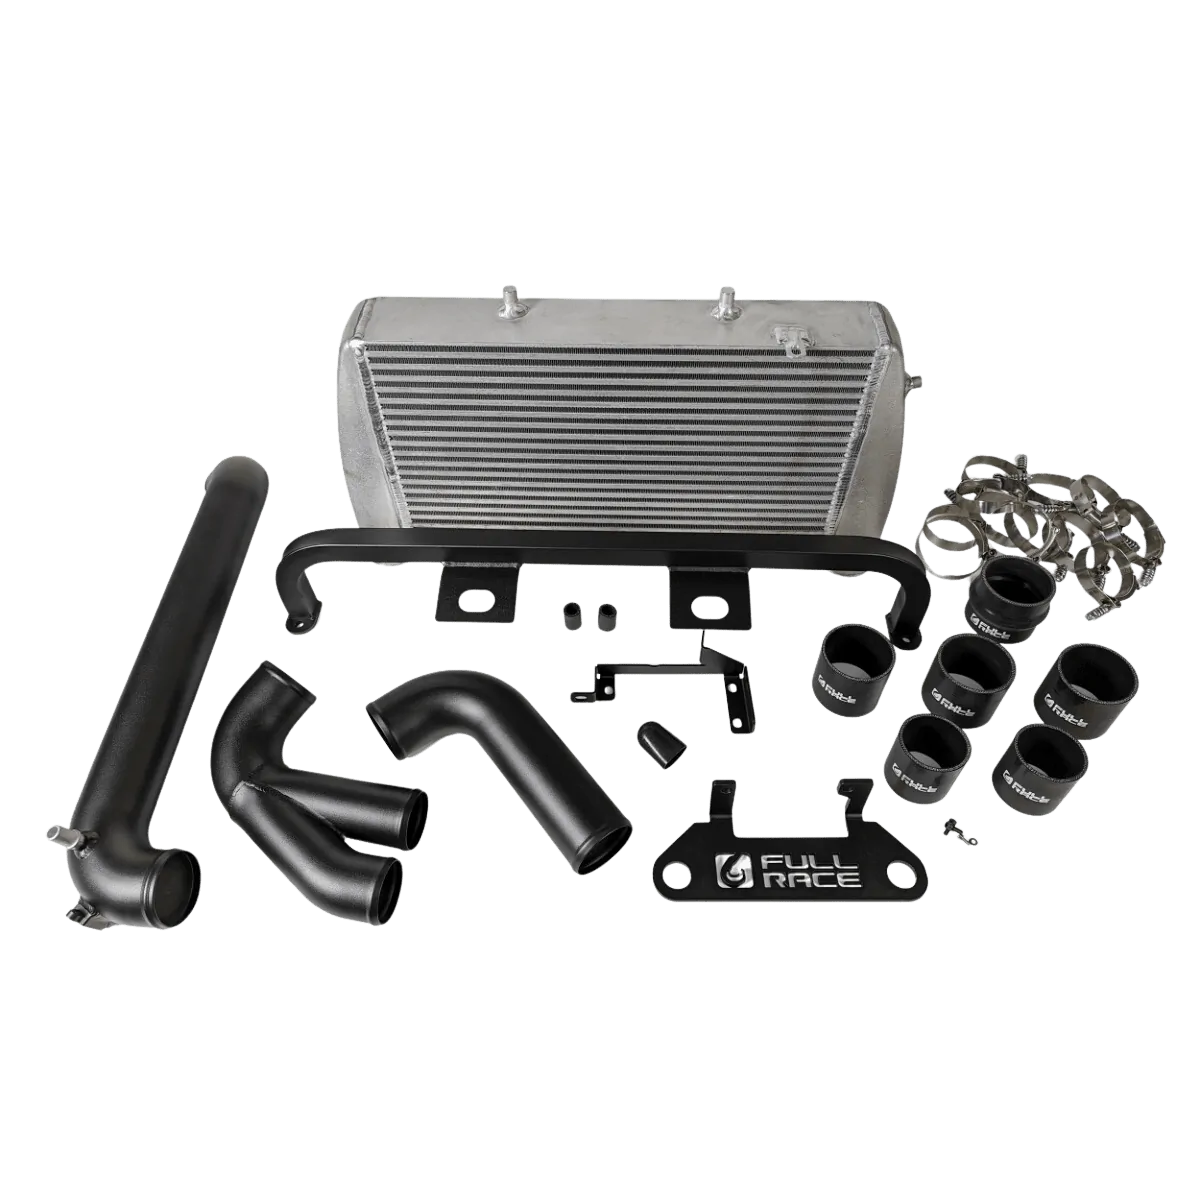
This article documents the installation of our Full-Race F150 Ecoboost Intercooler / CAC Upgrade Kit. The addition of a high performance air-to-air intercooler is a simple but crucial upgrade for any turbocharged vehicle. Also known as the ‘CAC’ (charge air cooler), the stock unit is located below the radiator, in the lower front bumper whereas the Full-Race intercooler which mounts high in the grille. This straightforwards install can be performed with the truck on the ground – No need to raise the vehicle or remove body panels. Once you are familiar with the process, the installation can be completed in under 30 minutes. Tools required: 13mm, 11mm, 10mm, 5/16** sockets, 12” socket extension, 6” socket extension, socket wrench, T-20 torx, 4mm allen wrench, cutting tool for vacuum hose.
Note: 2013-2016+ Applications which convert from eBOV to Mechanical BOV (TurboSmart or TiAL) – look to see if your intake manifold has an unused vacuum nipple behind the TB. If not, our TB spacer -or- PCV delete are recommended.
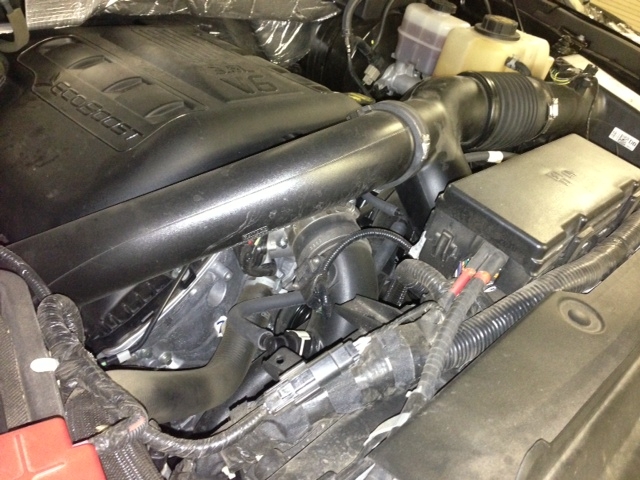
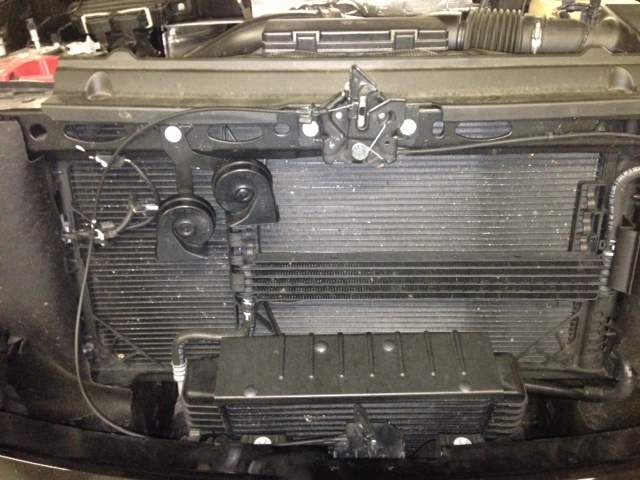
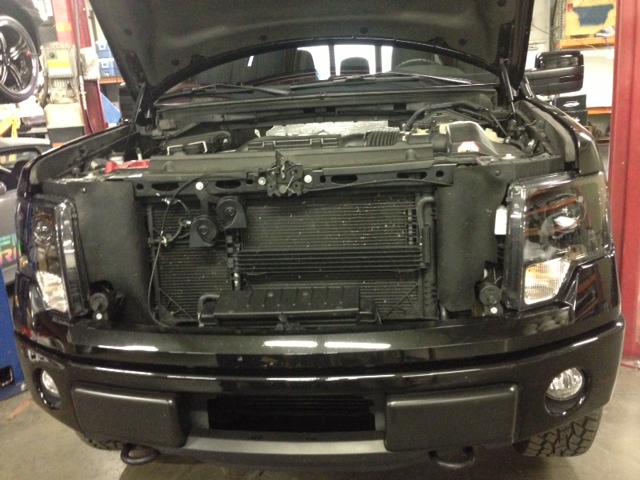
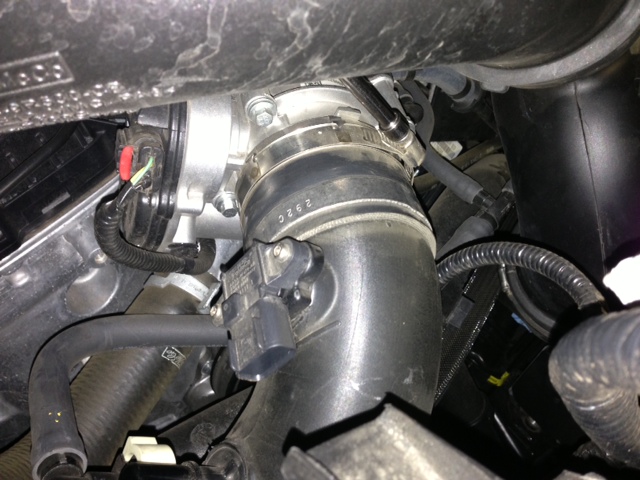
1. Starting with a stock EcoBoost F150 first unplug and remove the Horns and Horn Bracket. Next, to the OEM cold side charge pipe for removal, unplug the MAP sensor and disconnect the PCV hose (located just before the throttle-body):
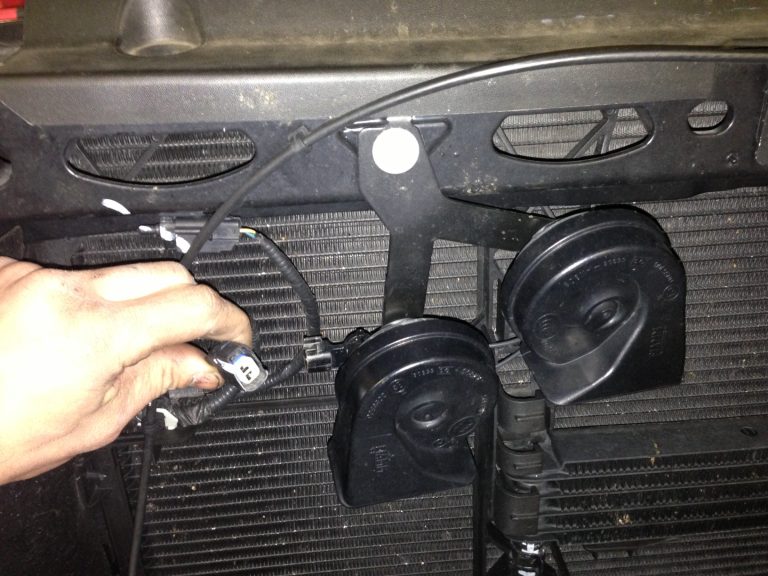
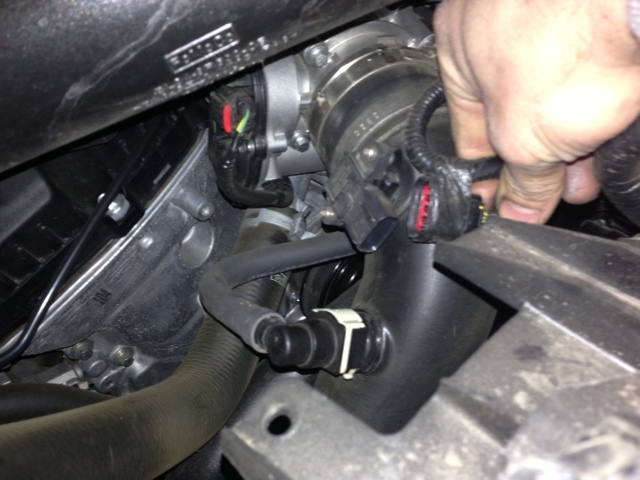
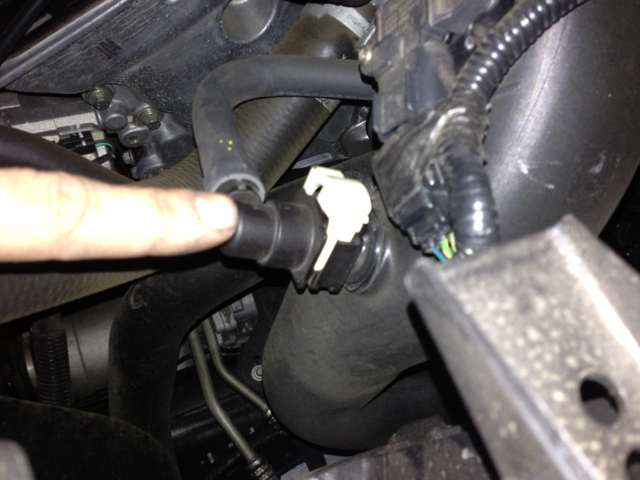
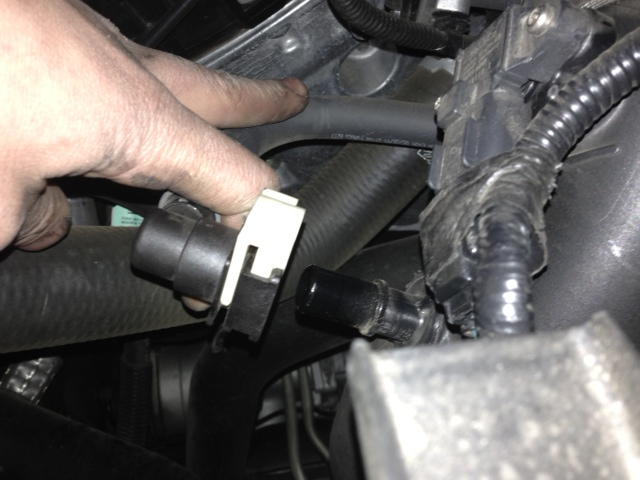
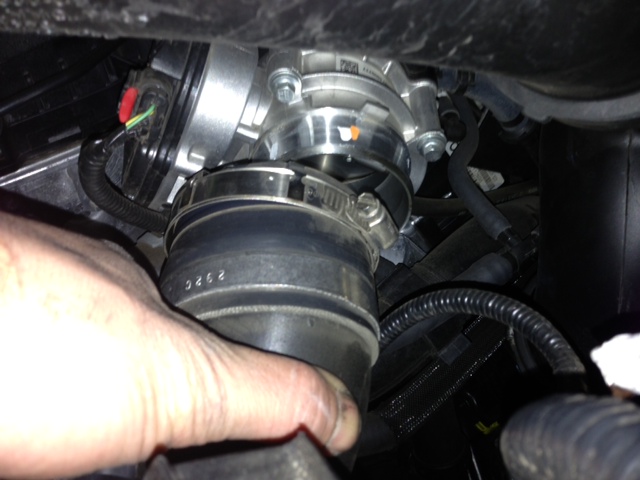
2. Loosen the Throttle-Body (cold-side) hose clamp to release the coupler, then use a small flathead screwdriver (or your fingers) to free the spring clip <#4 in the photo>. Remove charge pipe from engine bay:
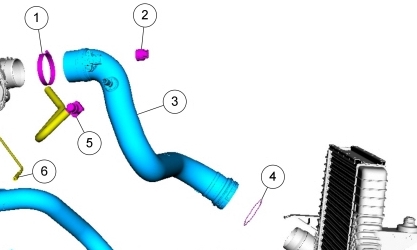
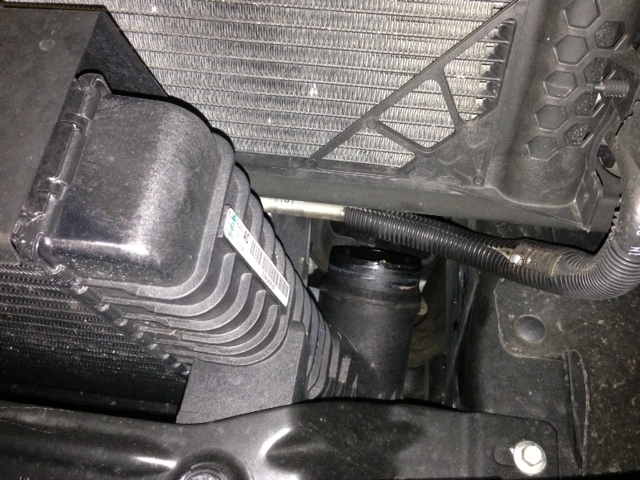
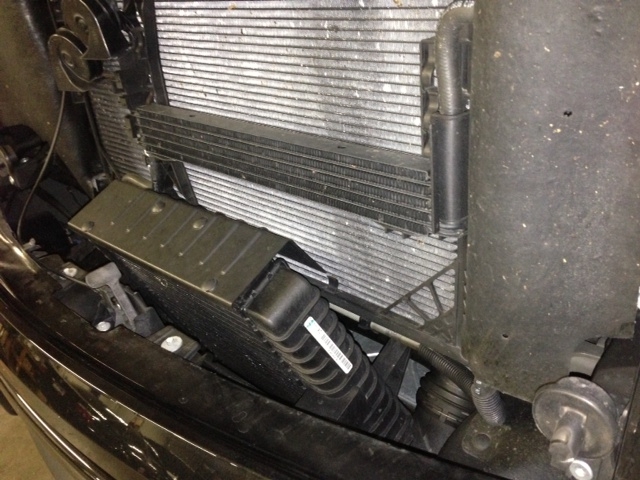
3. Using a long extension and 10mm socket, loosen and disconnect the hot-side charge pipes from the back of the stock CAC:
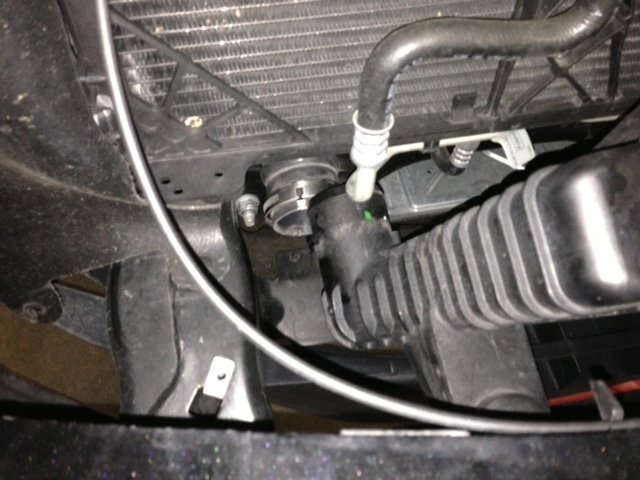
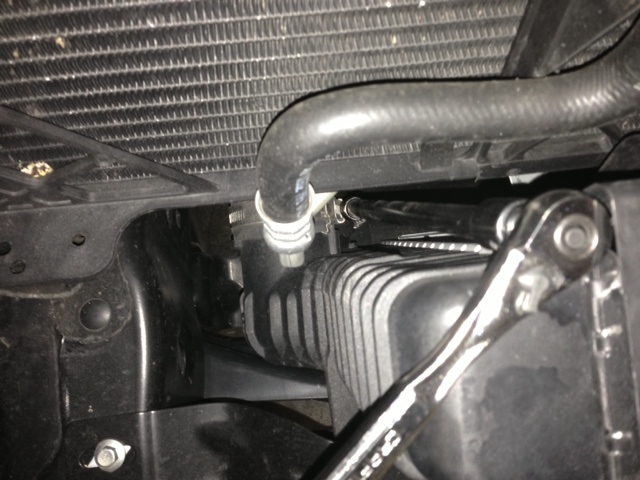
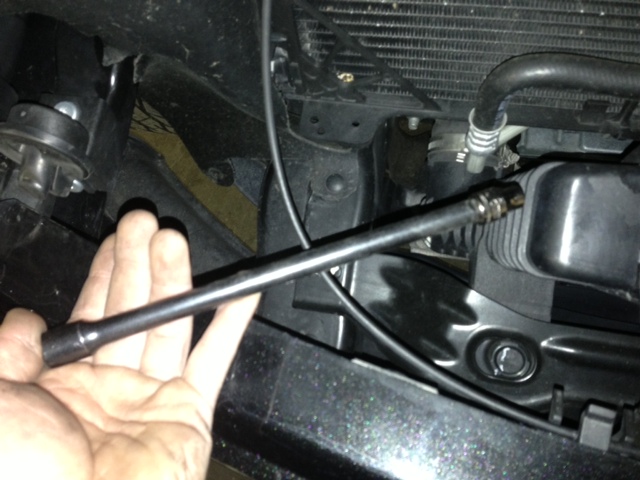
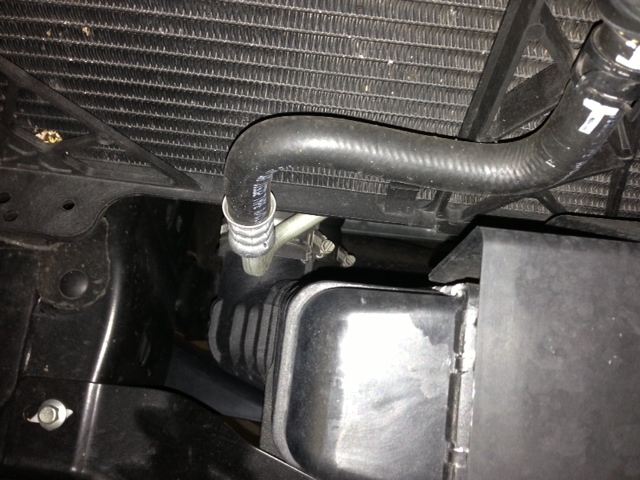
4. Unbolt and Remove the stock CAC upper mounting bracket using the long extension and 10mm socket:
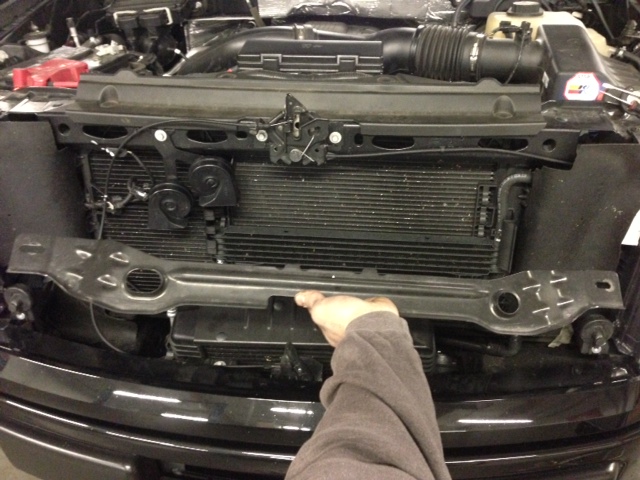
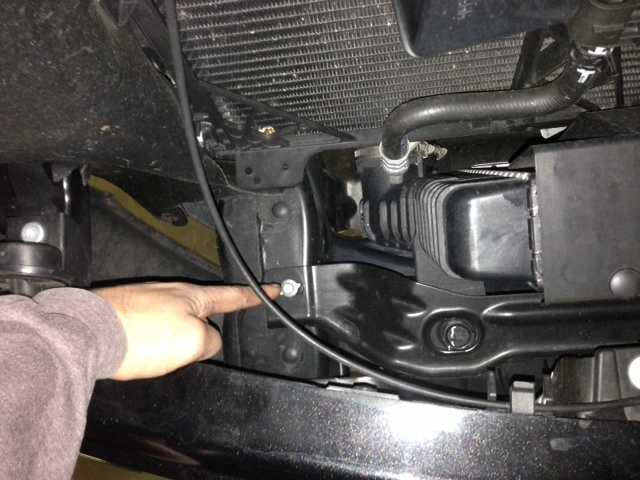
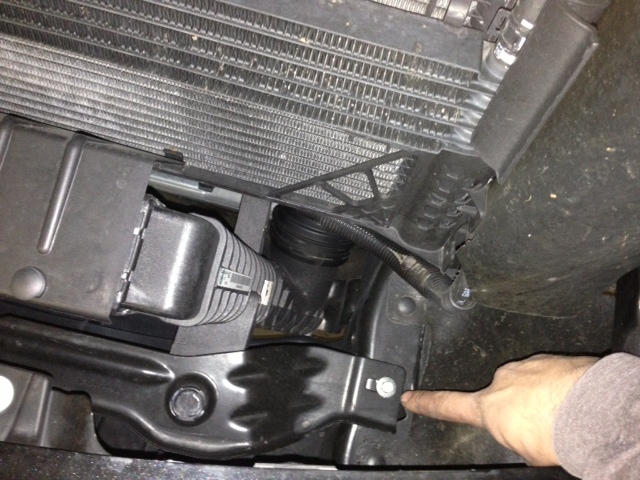
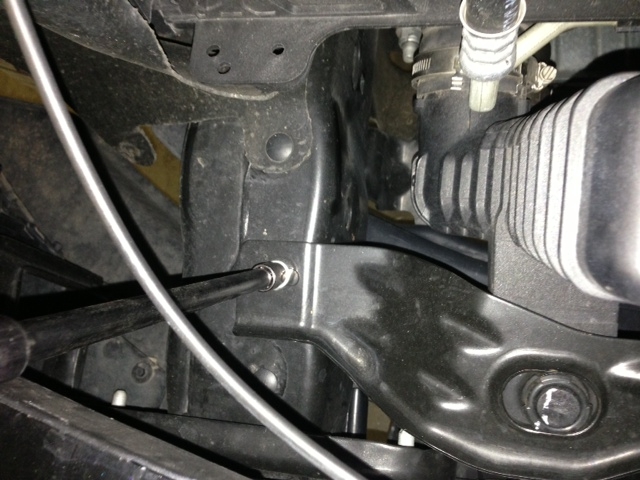
5. Unbolt the lower mounting bracket (do not discard it) – to allow the stock CAC to drop out the bottom. Removal of front spoiler air dam may be required to aide in CAC removal. Also remove the factory hotside couplers. After this step the stock CAC and its components are out of the vehicle and we can begin installing.
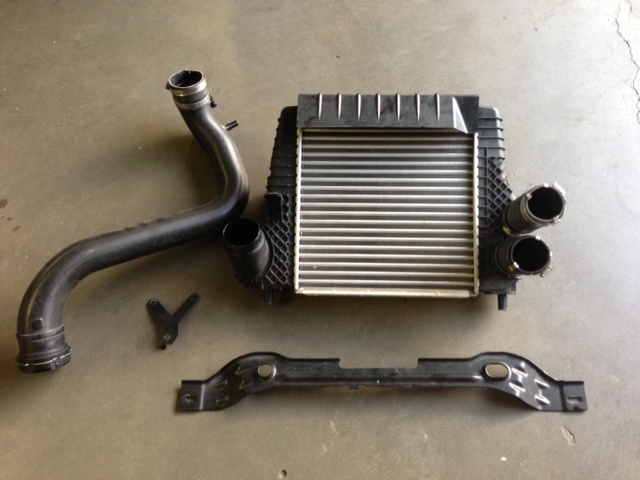
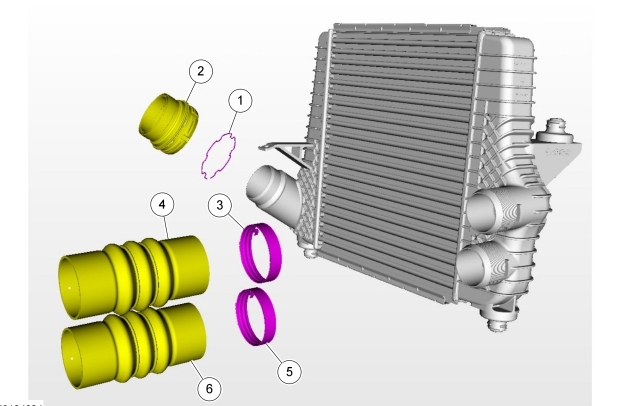
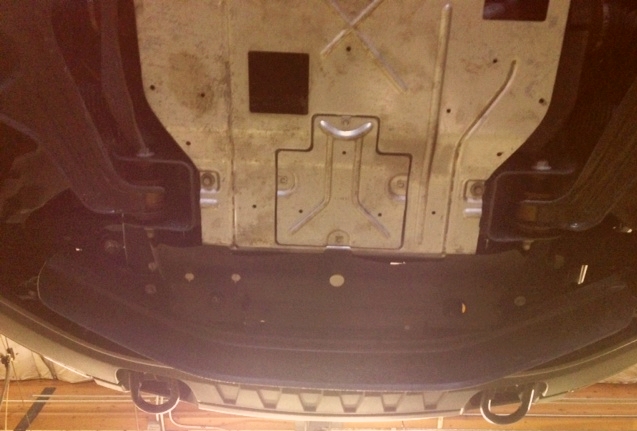
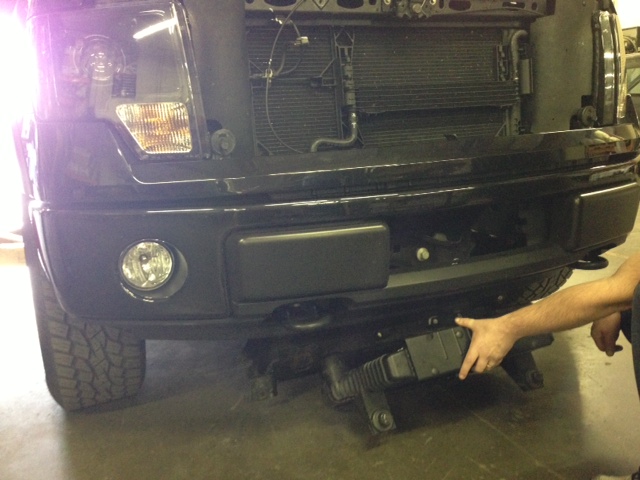
6. Begin installing the Intercooler Mounting Beam, use the 10mm socket and long extension to firmly tighten in place:
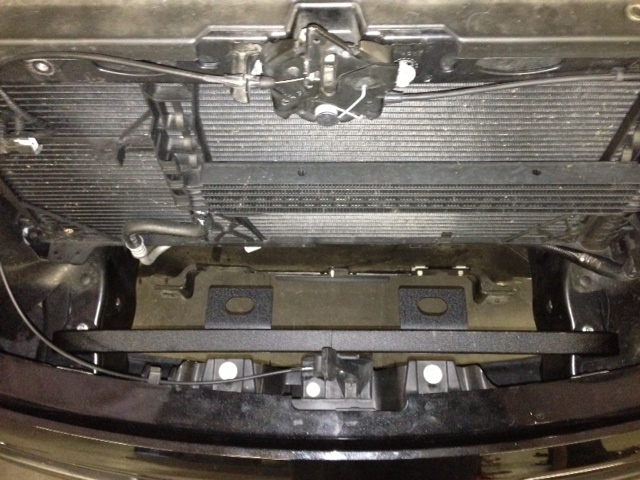
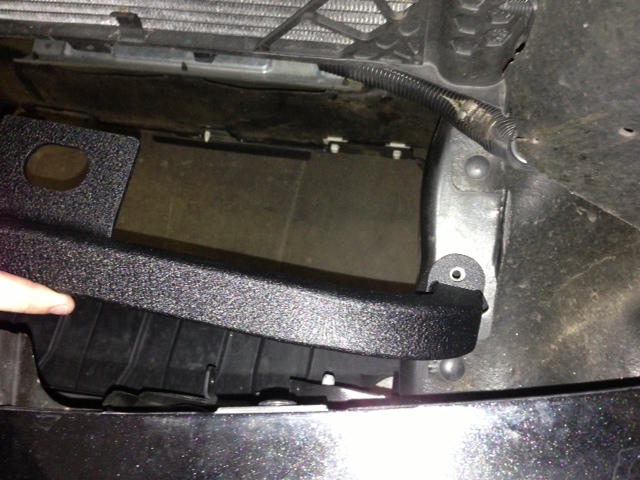
7. Install the (2) Full-Race 2.5″ straight couplers on the hot pipes and get the Y-pipe oriented (it helps to use soapy dish water in a squirt bottle when sliding these on). Keep the clamps loose – do not tighten yet.
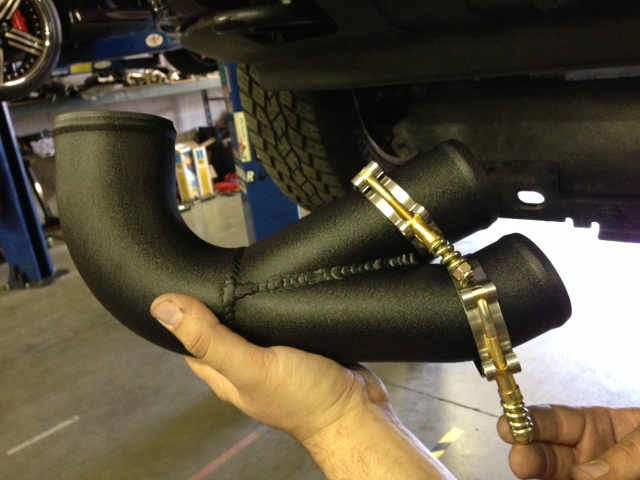
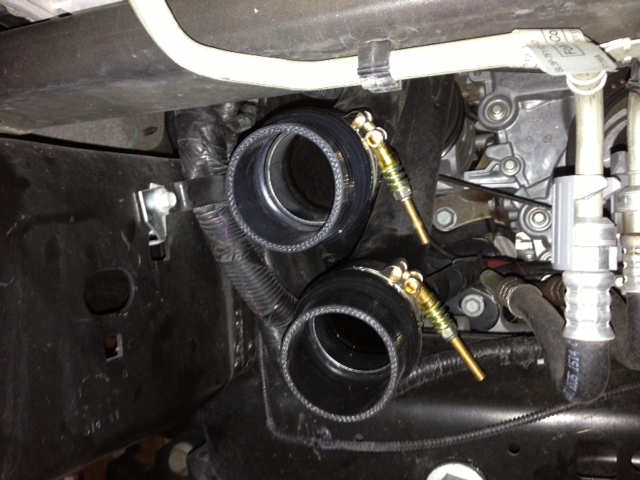
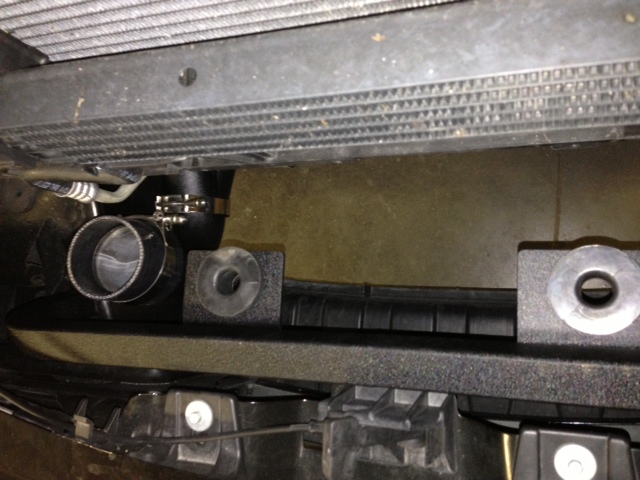
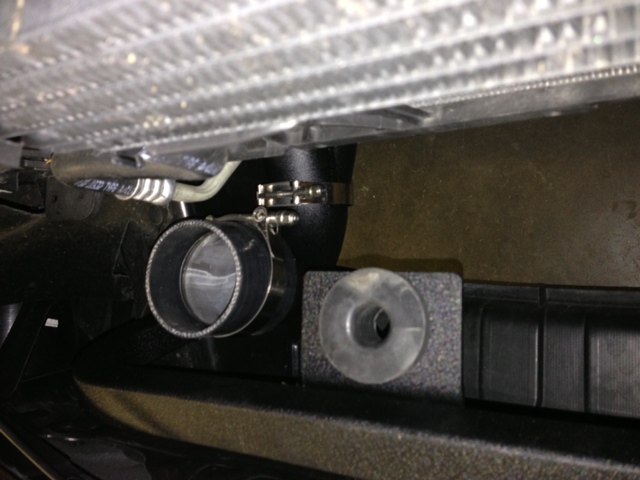
8. Now that the mounting beam is tightened and the Y-pipe is loosely in place – we can prepare to install the intercooler. Insert the supplied inserts into the OEM bushings. Install the OEM bushings into the Full-Race Intercooler Bracket, and then Install the Full-Race Intercooler bracket onto the intercooler.
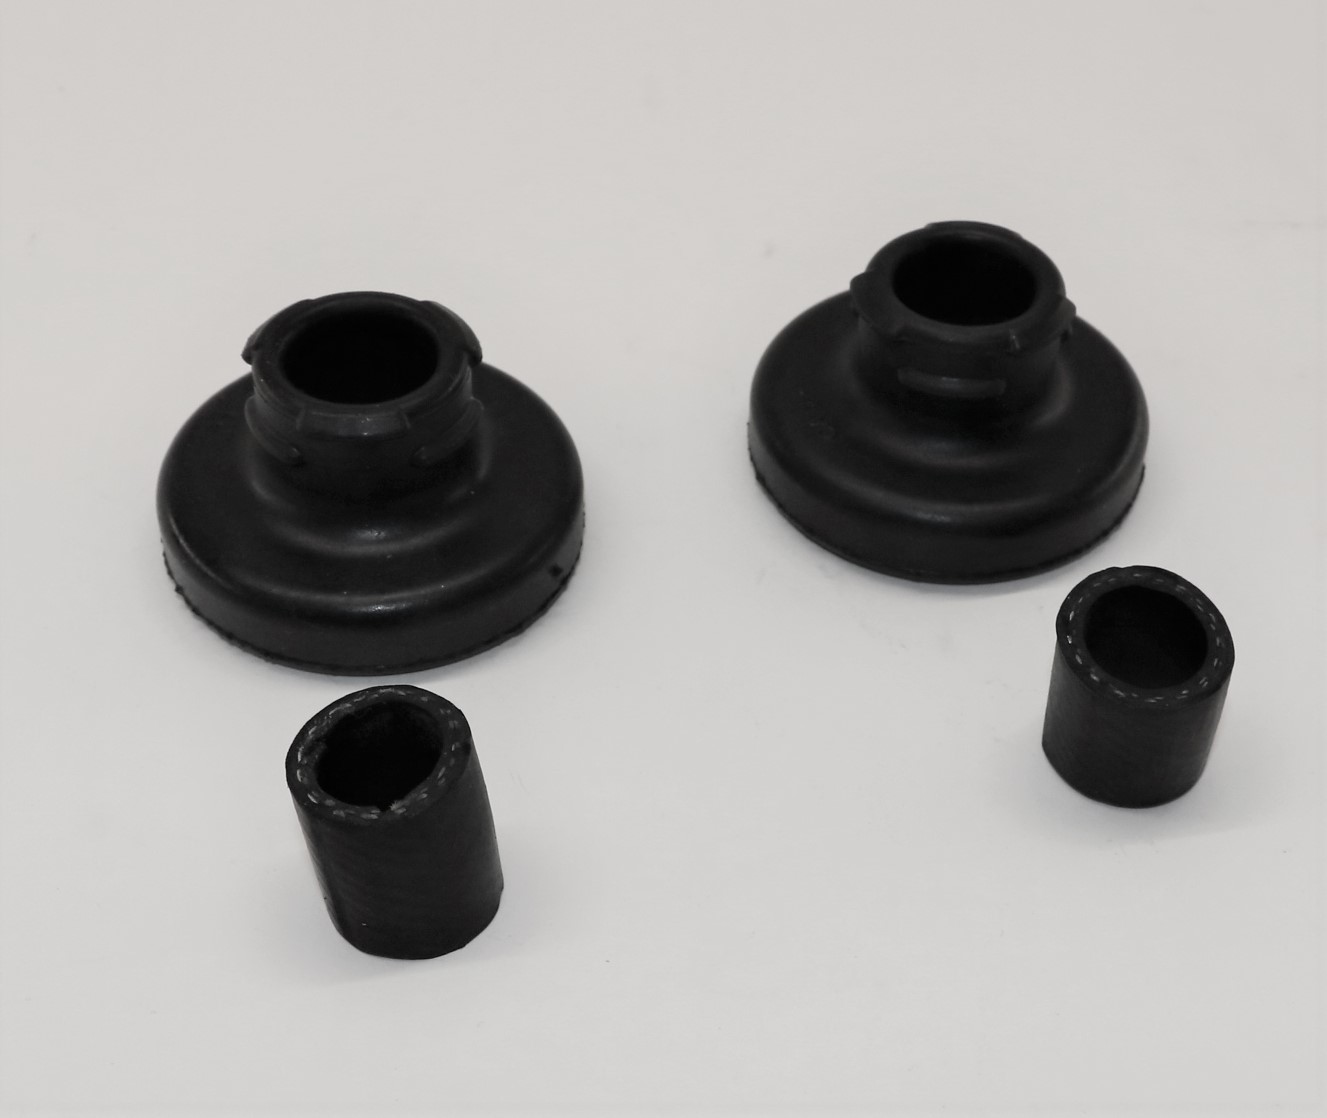
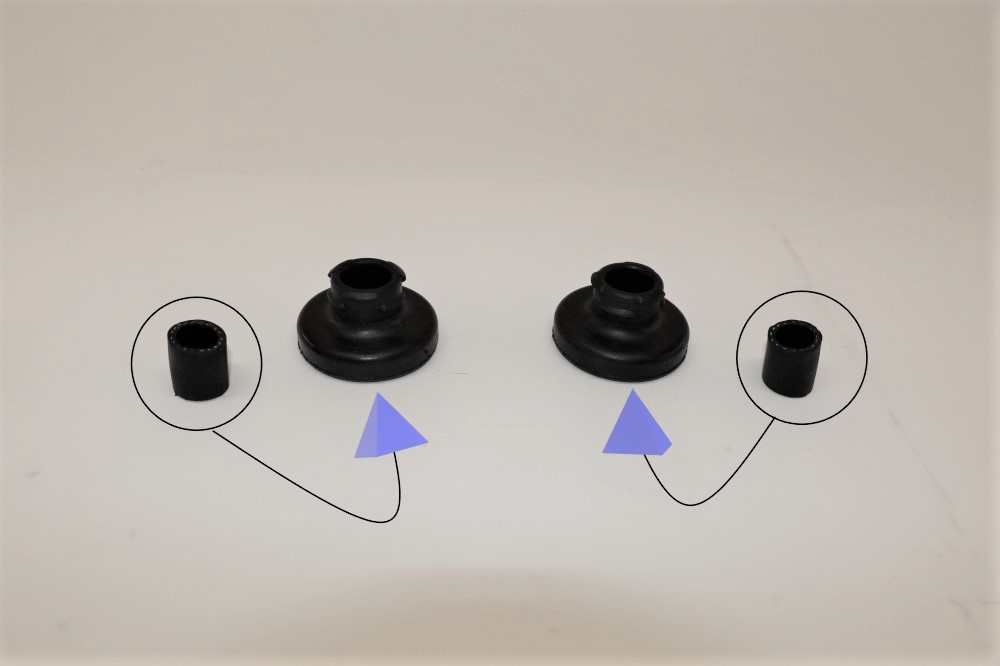
Press included inserts into OEM bushings until they're flush
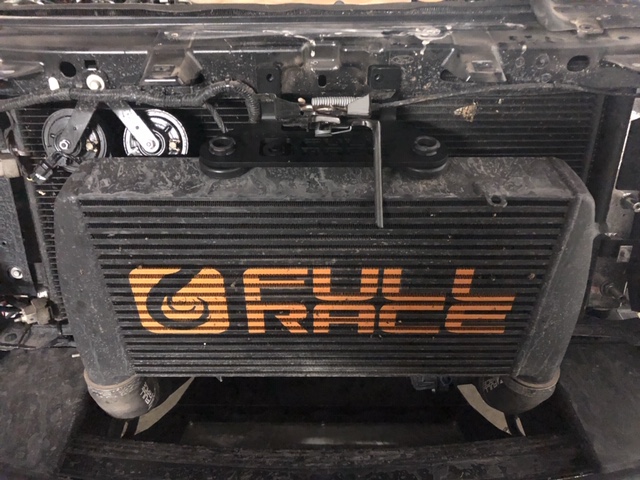
Install bushings with the included inserts onto intercooler and set intercooler into the truck
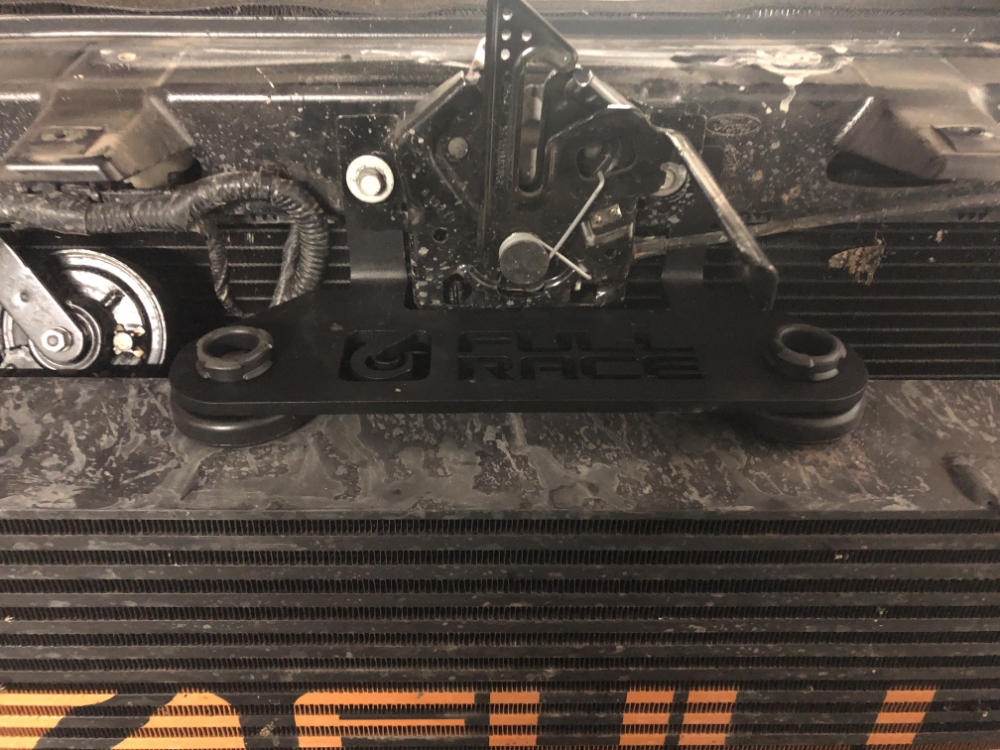
With the inserts and bushings installed, line up the 2 factory bolts and reinstall. The hood latch goes between the bracket and radiator support.
NOTE: the hood latch should remain in the stock location for proper operation of the hood release, but it must be removed to install the Full-Race top bracket. Note: Use caution to avoid damaging the hood latch release cable or the wires. You may need to disconnect the electrical connections on the radiator support or hood latch for ease of installation.
9. Remove the dual horns from the stock steel bracket, carefully rotate and reconfigure the wires, then install on Full-Race relocation bracket and reinstall above the intercooler: 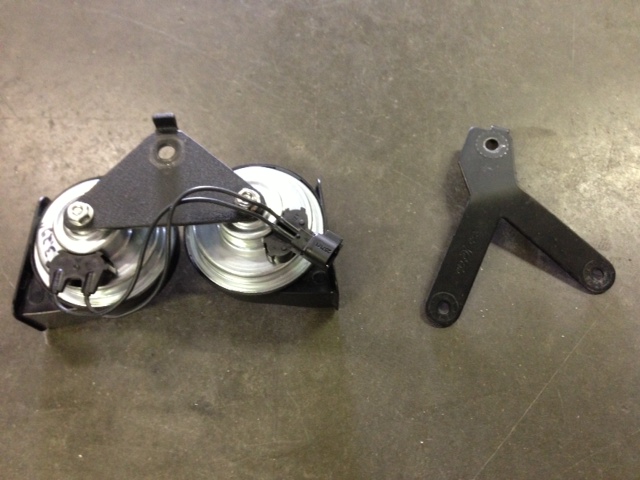
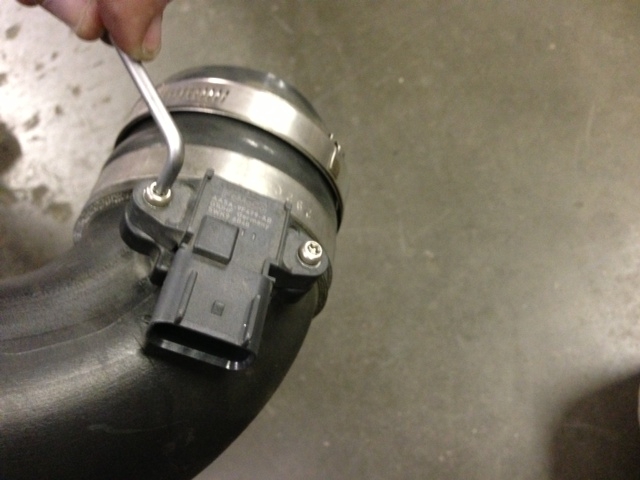
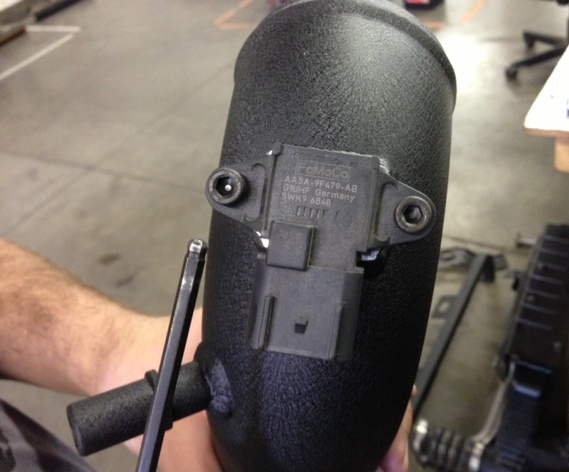
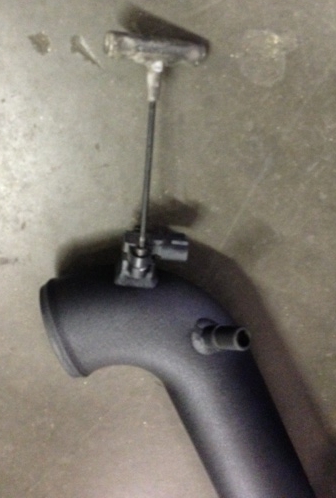
10.Using a T-20 ‘torx’ bit, unscrew the MAP sensor retaining screws out of the stock plastic cold-side charge pipe. Carefully insert the sensor onto the Full-Race cold pipe’s mounting bung using our provided 4mm allen head cap screws (take care not to damage the o-ring!). Next, install the cold side 3″ charge pipe in the vehicle and connect the PCV hose and MAP sensor harness plug. 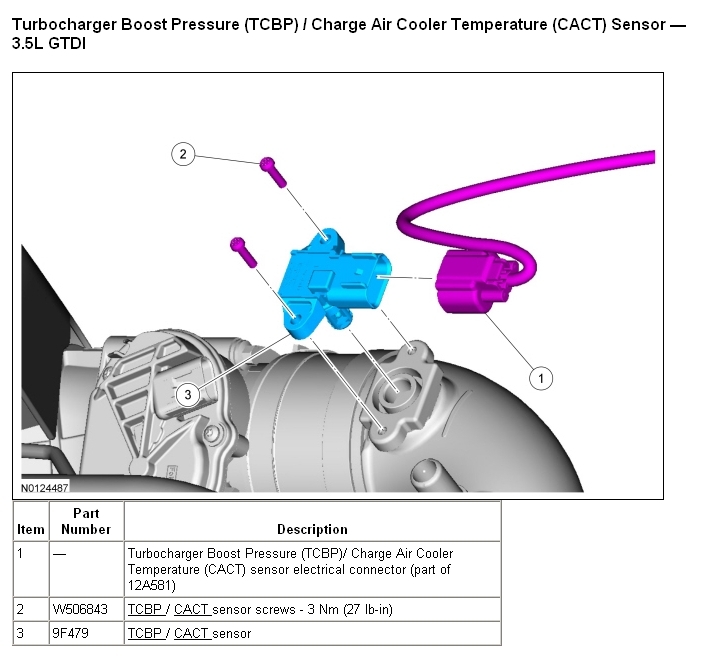
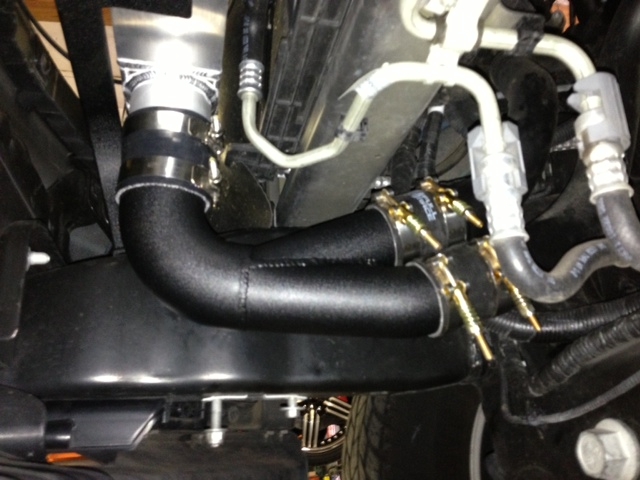
11. All pipes and couplers should be in place, ready for the clamps to be tightened down. Using the following pictures as a guide, try to align and orient the clamps exactly as shown, then tighten down. Do not allow any contact between the pipes / couplers and anything else in the engine bay!
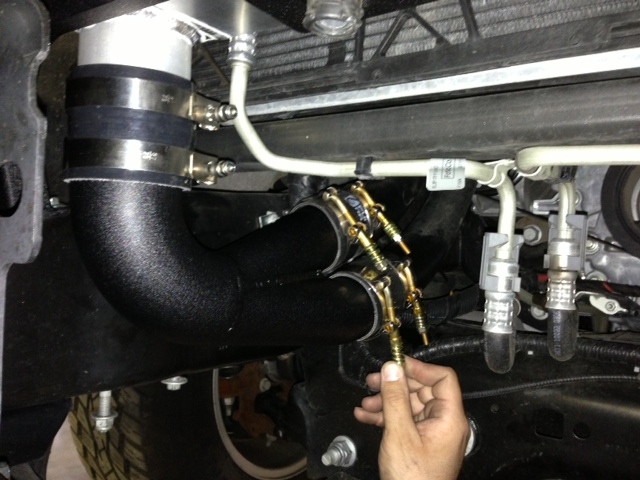
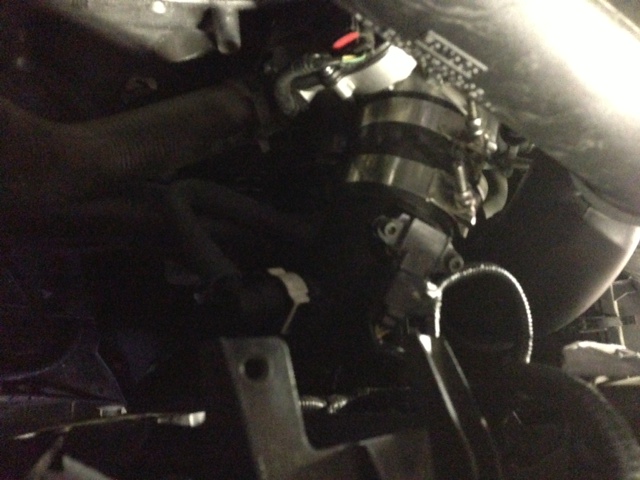
12. If Using an external Mechanical BOV, install it now on the charge pipe. This is easily done off the vehicle, be careful to properly orient and seal the clamp and prevent leaks. Mount charge pipe and BOV in vehicle, and run supplied vacuum hose from BOV to intake manifold. If no nipple is available you can use a TB spacer or a PCV delete to get vacuum/boost signal to the BOV. Finally – go over all hardware and couplers/clamps to double check for tightness, and make sure there are no misalignments. Make sure the MAP sensor is plugged in and the PCV hose reinserted. Lastly, button up the lower area. Now the installation is complete!
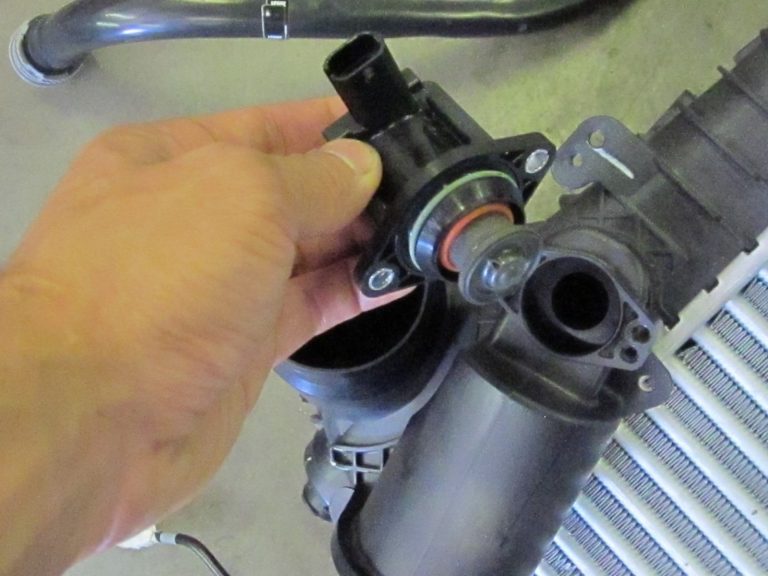
Optional Upgrades: 2011-2014 F150 EcoBoost Radiator and Transmission Cooler
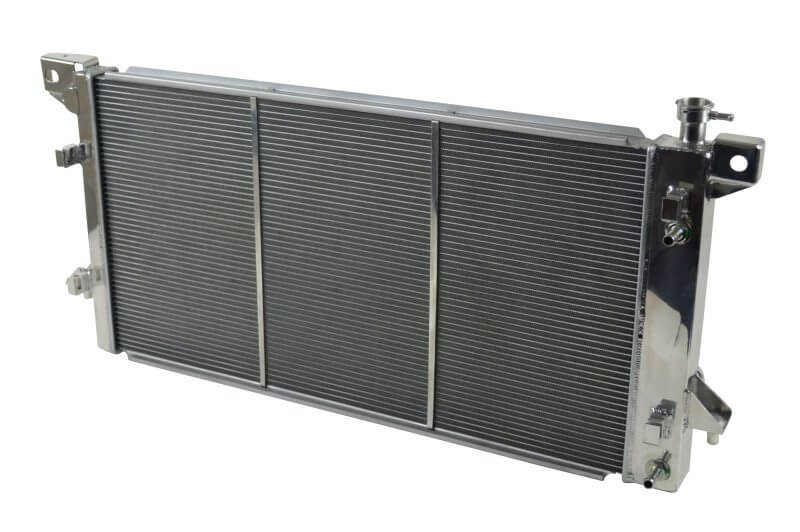
2011-2014 F150 EcoBoost Radiator
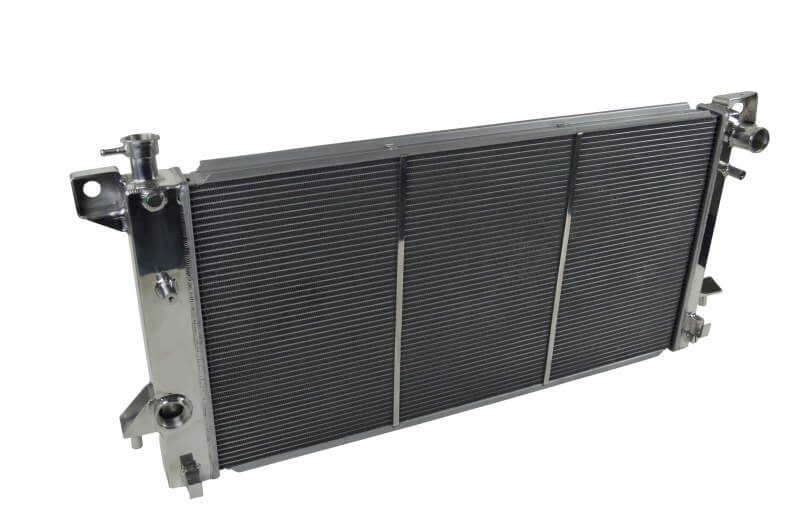
2011-2014 F150 radiator for 6.2 V8 and EcoBoost 3.5L
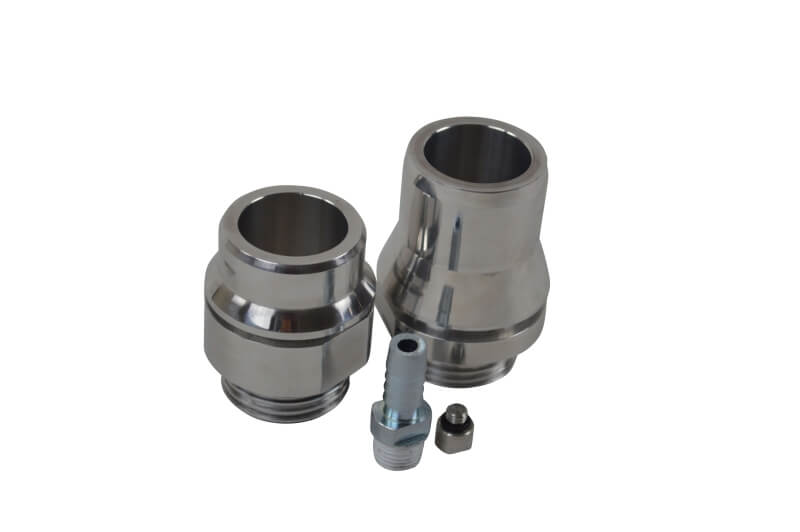
Thread-In Fitting Option for Lower Hose
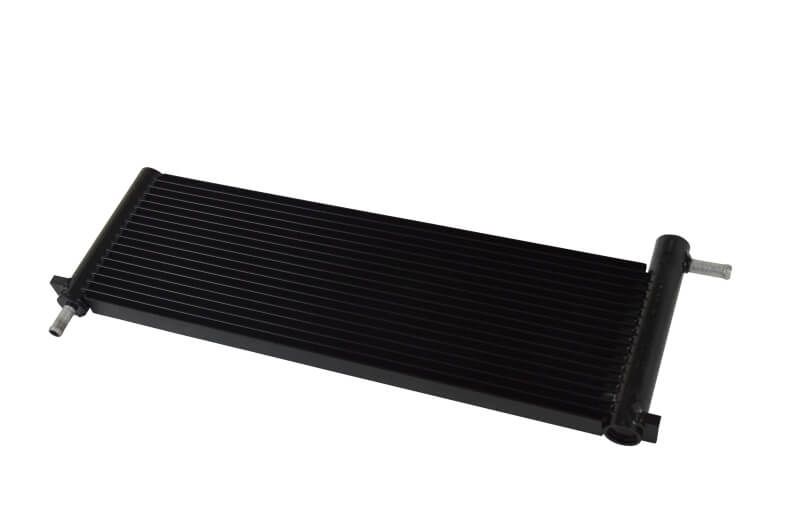
2011-2014 F150 EcoBoost Transmission Cooler
F150 EcoBoost Test Vehicle Dyno Video:
F150 EcoBoost Test Vehicle Dyno Graph:
Full-Race Intercooler (red line) VS Stock Charge-Air-Cooler (blue line)
Here are 2 independent results comparing stock CAC vs Full-Race V2 Raptor and F150 Intercooler:
1). Paul Rogers: Stock intercooler vs Full Race intercooler. Ambient vs Intake (IAT2) temps. Temps go up with stock, down with FR when you’re on it. It’s funny to watch the temps drop as you give it gas now instead of the opposite. These were 2k-6k RPM logs. ???? 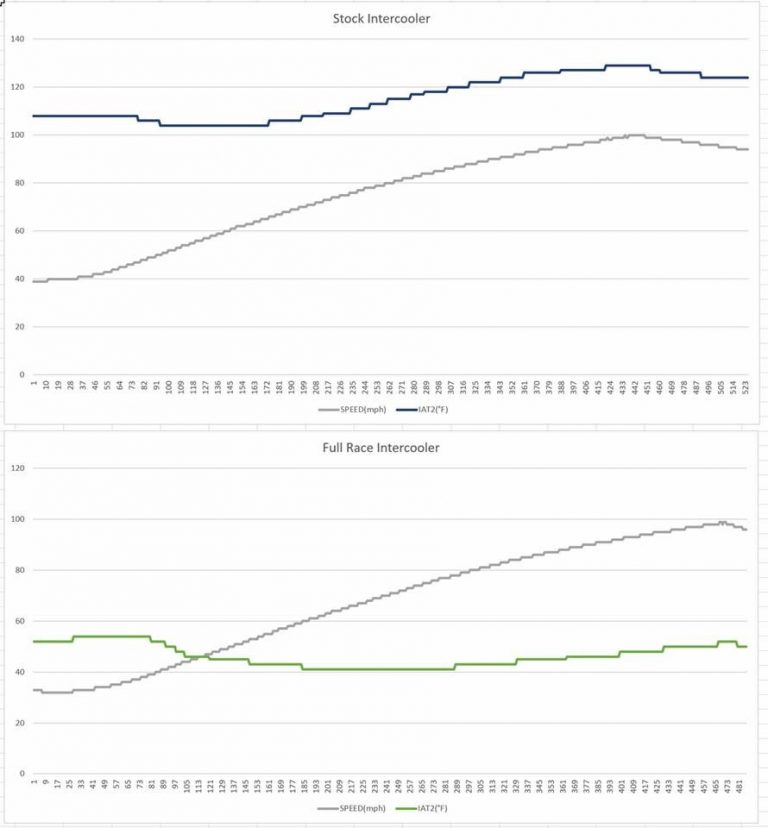
Stock: Best difference between ambient and intake = 44 degrees. Worst was 65 degrees!
Full Race intercooler: Best difference between ambient and intake = 11 degrees. Worst was only 24 degrees different! 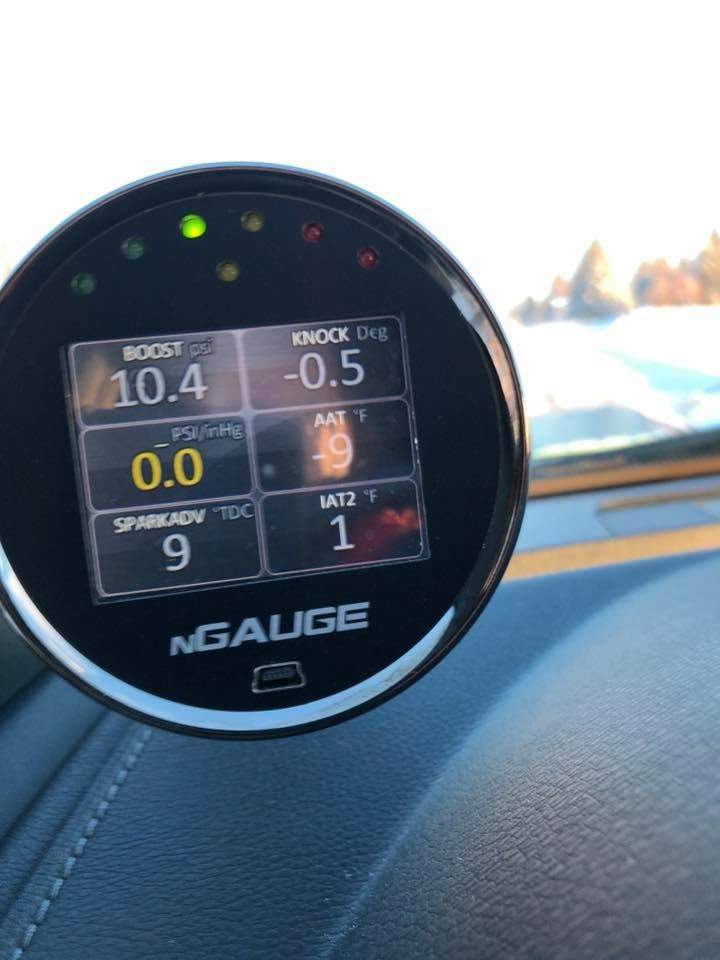
Full-Race Raptor Intercooler test Full-Race V2 Raptor Intercooler IAT test result comparison
2) MPT Tuning: Full-Race intercooler dropping IAT like its hot! 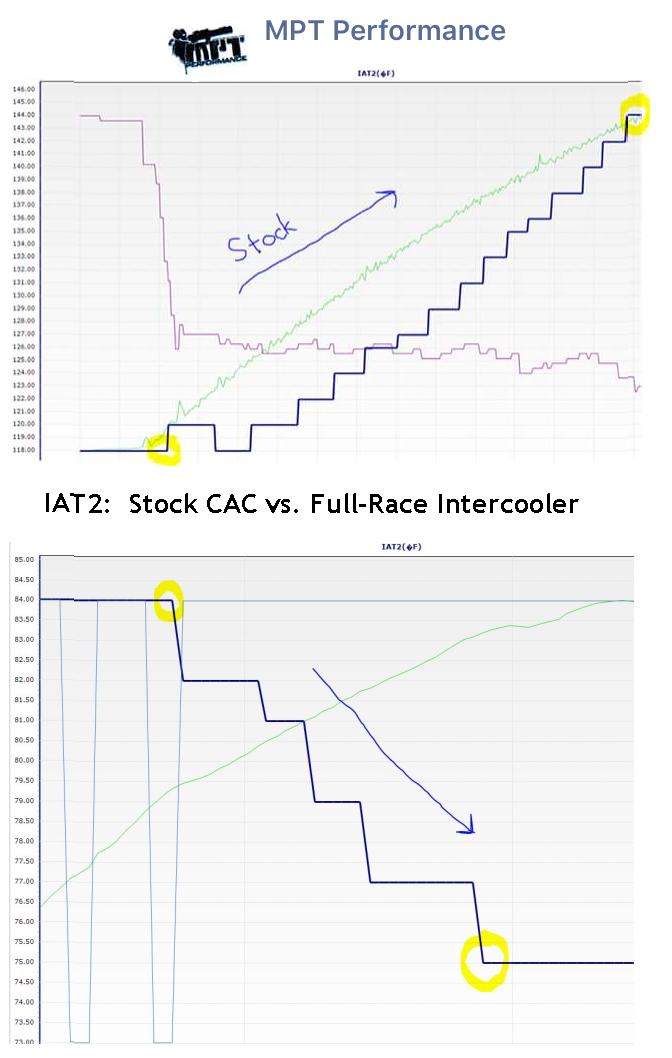
IAT2 Raptor Intercooler test 3.5L Raptor EcoBoost intercooler comparison: Stock vs Full-Race
These results match our in-house testing previously posted.
Resources
All ArticlesFor SHOP OWNERs
& KIT BUILDERs
Full-Race Motorsports is the most
trusted name in turbocharging.

